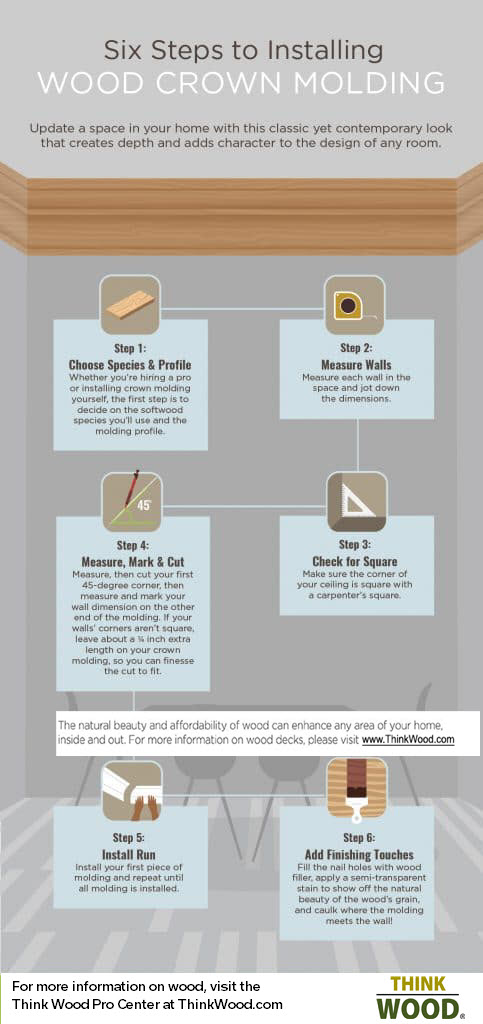
Step 1: Choose Species & Profile
Whether you’re hiring a pro or installing crown molding yourself, the first step is to decide on the softwood species you’ll use and the molding profile. We chose Southern Pine in a simple profile which works well in a more transitional, casual home.

Step 2: Measure Walls
First, measure each wall in the space and jot down the dimensions.

Step 3: Check for Square
Then, focusing on your first run, check the right corner, then the left with a carpenter’s square to see if the corners are square. If they’re not, make a note of it.

Step 4: Measure, Mark & Cut
If using a standard miter saw, flip the molding so that its profile is upside down before cutting at a 45-degree angle. Measure, then cut your first 45-degree corner, then measure and mark your wall dimension on the other end of the molding (measure from the longest part of the molding which is the bottom part). If your walls’ corners aren’t square, be sure to leave about a ¼ inch extra length on your crown molding, so you can finesse the cut after a dry fitting.

Step 5: Install Run
Install your first run of molding using a nail gun loaded with 2-2.5-inch finish nails. Be sure to set the gun so that the nails will be countersunk. Repeat steps 3-5 until all your molding is installed.

Step 6: Add Wood Filler
Next, using a stainable wood filler, fill all the nail holes. If you have any gaps in the corners where your two pieces of molding meet, apply wood filler there, as well. Smooth over with your fingertip. Allow the filler to dry according to your particular product’s instructions. Do some light sanding with a fine grit sanding block, as needed.

Step 7: Caulk
Run a bead of caulk where the molding meets the wall and the ceiling to give it a nice seamless look.

Step 8: Stain
Using a paint brush or rag, apply a semi-transparent stain that highlights the natural beauty of the wood’s grain, wiping off the excess as you go.