
Step 1: Prepare Wall
Remove any applicable wall molding by scoring its paint and caulk with a utility knife. Use a sheetrock mud knife and a pry bar or hammer to carefully remove the molding from the wall. Be sure not to damage the molding, as it will be reinstalled later.
Step 2: Find the Center
Using a pencil and a level, mark the center of the wall and draw a line from the ceiling all the way down to the floor. This feature wall will consist of a simple “V” pattern, so make sure the wall is measured carefully and equally divided into two halves.

Step 3: Establish Angle
To establish your angle, dry fit the boards along the center line according to your desired look and use the level to mark the angle. Keep in mind that a wide “V” shape will create the illusion of a wider space, while a narrow “V” will create the illusion of a taller space.

Step 4: Cut Lumber
Using the previously marked pencil line as a guide, cut across the wood planks with a compound miter saw. All of the cuts should be the exact same angle for the entire half of the wall; however, you’ll need to adjust the length of the planks to accommodate for any windows and doorways. Should there be a window or doorway on the wall, determine the proper plank length by measuring the wall span on each side as well as above and below the window or door, and cut the surrounding boards to each of those exact dimensions.

Step 5: Install Boards
Use 2” 18-gauge nails and a nail gun to attach the boards to the wall studs. These small nails will hold the wood in place firmly without visually disturbing its natural beauty.

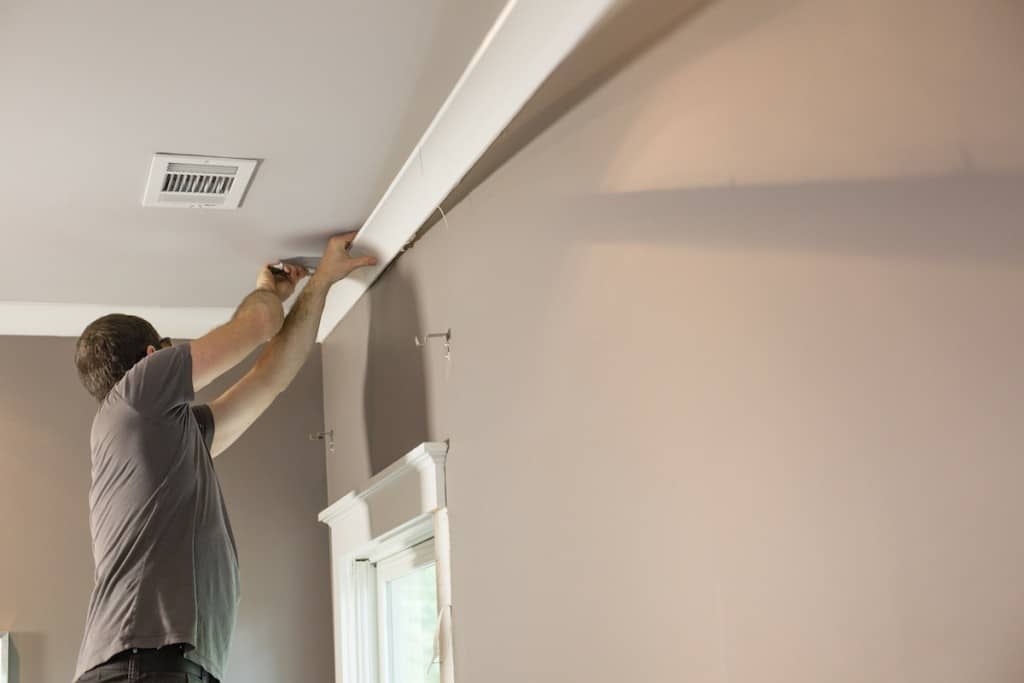
Step 6: Reinstall Molding
Once all of the wood is nailed in place, reinstall any trim molding you may have initially removed using a nail gun and 2” 18-gauge nails. Camouflage any visible holes or nicks with wood filler and a putty knife.

Step 7: Finishing the Wood
From stains to waxes to clear lacquer, cedar, pine and redwood can be finished in many different ways. Select your preferred finish and make sure to stir, not shake, your product to prevent bubbles from forming. Wearing protective gloves and a ventilation mask, use a staining pad to evenly apply your preferred finish. Allow the base coat to dry and then reapply stain or lacquer depending on your desired look.

Step 8: Install a Jamb Extension
To cover the exposed ends of the new paneling around the windows where the trim was removed, create window jamb extensions by adding strips of wood the same thickness as the paneling plus 1/16-1/8-inch to accommodate for natural variation in the wood. Measure a few places around the window to match the thickness of the new wall material. The strips should have a smooth finish and be nailed into place, so they are flush with the inside edge of the window casing trim. Caulk and paint to match the inside of the window trim finish.
Once you’re finished, you’ll be pleasantly surprised how easy it was to transform your space with your wood feature wall!


