
 Before
 After
After
Step 1
Assess your existing porch. What is the spacing of the existing framing? Is the framing covered? Does the roof have any leaks? Which way do you want to run the V-Groove?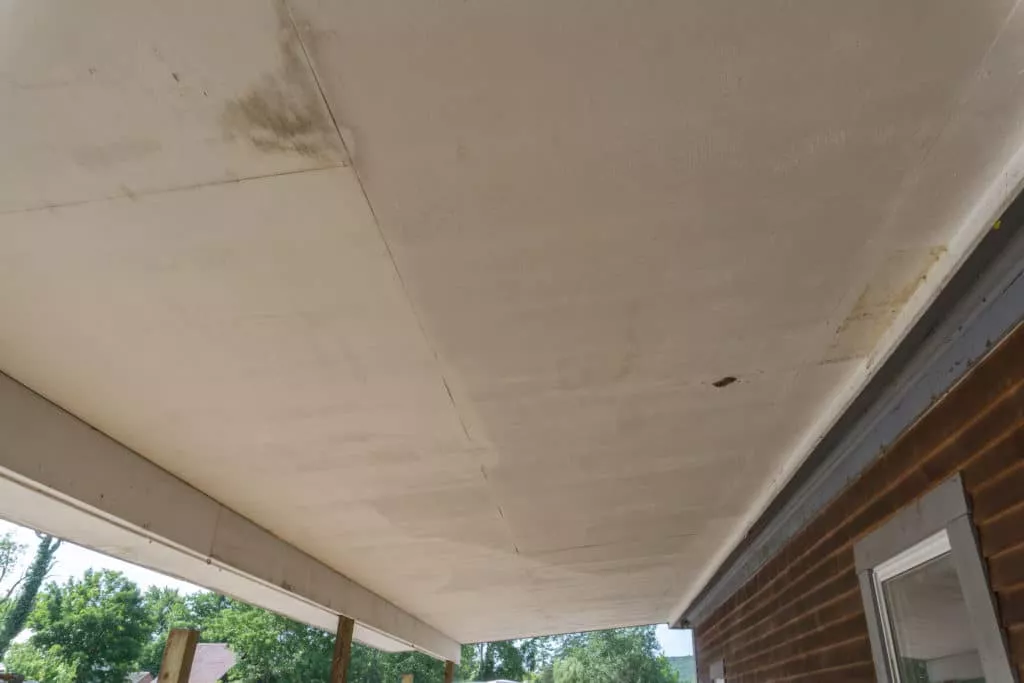
To start, the porch framing should be solid and in good shape. The joists should be no more than 24” on center. If they are, then you will need to screw 1×2 strapping in a 12” perpendicular pattern over the existing joists. Also, there should be no roof leaks which will damage the new ceiling. If the porch framing is covered with painted plywood, it can be left in place. Don’t try to go over other materials such as vinyl soffit. Those should be removed first.
For the pattern layout, the new V-Groove can be run perpendicular to the exiting framing or you can install 1×2 strapping to change the direction of the boards. Running the new ceiling in the long direction will mean fewer cuts but also make keeping each row straight more critical. Running the ceiling in the short direction will mean more cuts but also get rid of the butt joints and make a short porch look deeper. For small porches you can even consider an alternate pattern such as a diamond, herringbone, or diagonal run.

Step 2
Next start by measuring the overall length and width of your porch to order materials. If you are running the ceiling in the short direction, divide the length of the porch by the width of each board. For example, if you have a 9′ deep porch 20′ long, you will need 46 rows at least 10′ long and the 10′ boards will be cut down to just under 9′. If you are running the long direction, divide the total square footage by the width of each board for the total lineal footage. Finally, add 15% to the total count for cuts and waste. Contact your local lumber supply or mill and ask them for their select or premium V-Groove pine. Not only will the finished product look better, but it will also usually be easier to install. For this project, we used Eastern White Pine — pattern EWP-4.

Step 3
Once the material arrives, determine the width of the first and last row. It will look much better if both rows are the same width. While you may luck out and have a full last row, ending with a 1” row is less ideal than starting and ending with two even 3” rows.

Step 4
Next, stain or seal the boards on saw horses. Allow the V-Groove to dry over night. While it may seem easier to finish them in place, remember that you will be working upside down and it will be hard to get a consistent finish in the grooves. Be sure to coat the tongue of the board as well.

Step 5
To prep the ceiling, remove any existing trim, lights, or fans in the way. Be sure to contact a licensed electrician if needed.


Step 6
If the existing framing is covered, use a stud finder to located the joists.

Step 7
Mark those joist locations with a chalk line. This will guide the nailing locations later.

Step 8
To make the installation easier and to accommodate seasonal changes, start the first row 3/4” from the edge of the porch. This gap will be covered by trim later.

Step 9
Next using a table saw, trim down the first row as determined above.

Step 10
Be sure to check each piece and trim the ends if necessary to ensure they’re perfectly square.

Step 11
Run the first row making sure to check it occasionally with a string line. Because all the successive rows will run from this, it needs to be as straight as possible.

Step 12
If you bought random length boards, be sure to randomly install them so that each length is dispersed through the ceiling.

Step 13
Fasten each board using a 2” 15 gauge nail on each joist. On the cut side, nail it 1/2” from the edge to prevent splitting the wood. On the tongue side, nail it through the tongue at an angle so the next row covers the nail.

Step 14
When you get to the end of the first row, cut the board 3/4” short with a miter saw.

Step 15
In order to seat each successive row, cut grooved blocks so hammering against the tongue doesn’t damage the wood.

Step 16
Next, start the second row making sure to offset the end joints by cutting the first board if necessary. Keep end joists at least 12” away from the previous row. By using longer boards you will decrease the number of butt joints to contend with. If you ran the ceiling in the short direction, you can eliminate end joints altogether.

Step 17
Make sure the next row seats tightly on the first by using a mallet and grooved push block.

Step 18
Keep running successive rows. If you are installing in the long direction, run a string line every few feet. This will give you a control line to reference from for consistent straight rows.

Step 19
When you get to the final row, cut down the boards on a table saw as planned at the beginning.

Step 20
Face nail this row within 1/2” of the edge.

Step 21
Next, cut leftover pieces of the V-Groove into 1 1/2” strips. These will be used to trim out the perimeter of the ceiling.


Step 22
If you plan on painting any surrounding framing or posts, cut in the edges before installing the trim.

Step 23
Using 15 gauge nails, install the trim around the perimeter of the ceiling.


Step 24
For more complicated areas, test fit each piece to check the angle cuts. On an older porch, the corners may not be exactly 90 degrees.


