Step 1: Gather Your Tools and Materials
The first step in this process is to gather the tools and materials you’ll need to create your coffered ceiling. We chose to work with Eastern White Pine because it’s readily available, easy to work with and has beautiful grain patterns. You can use the lumber grade with characteristics – such as knotty or clear grain – that best suit the look you want to achieve.

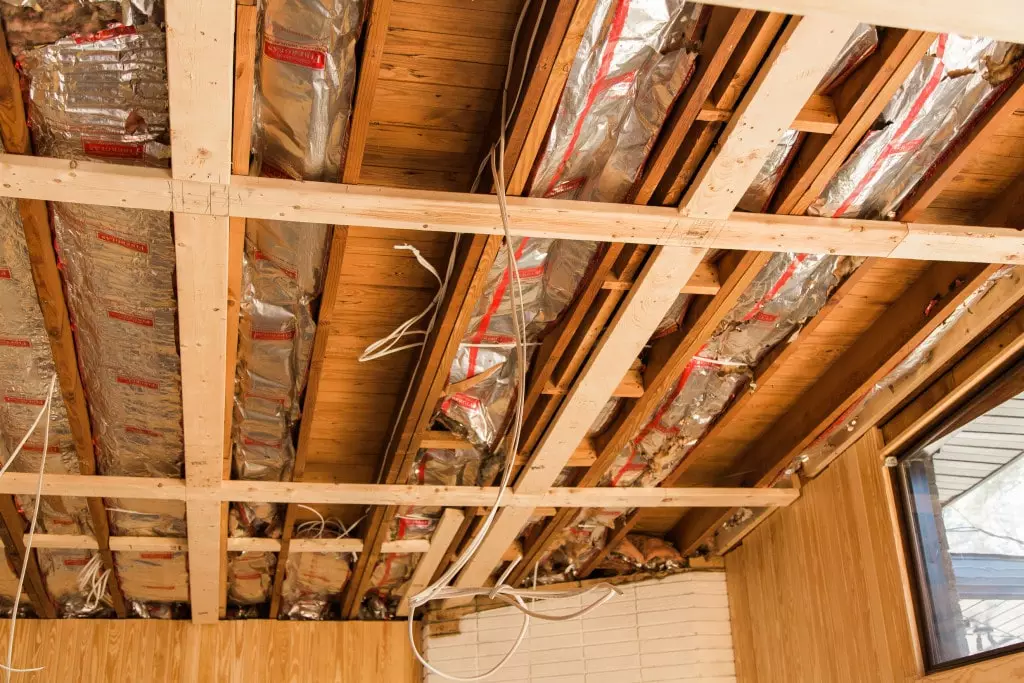
Step 2: Demo
First, remove any light fixtures, then disassemble any existing beams or trim work. Next, remove the building materials covering the ceiling’s infrastructure. Cap off any electrical wiring, as you go.
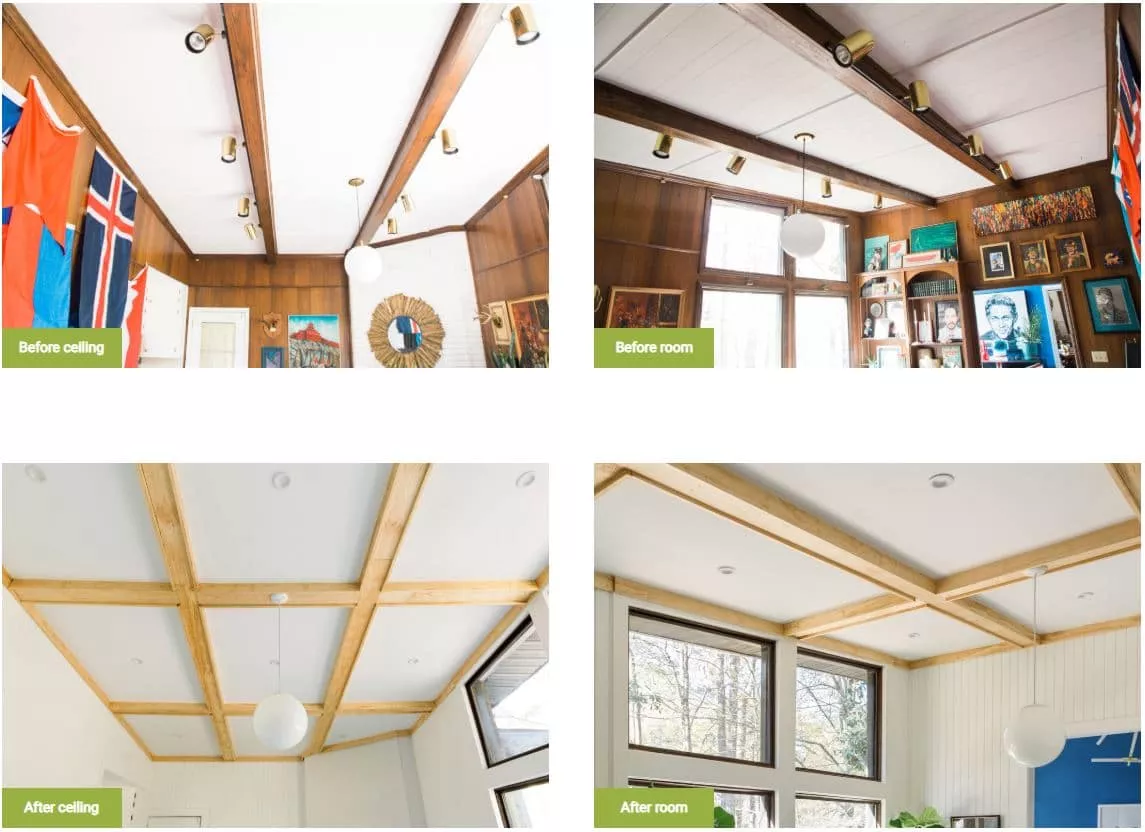
Step 3: Map Out Grid
Taking your room’s dimensions, existing ceiling joists and any fixtures into account, map out a grid for the square coffers. Each of our boxes are 53 inches wide. Their length varies a bit due to the dimensions of the room but it’s not that noticeable to the naked eye. Keep that in mind as you figure out your own grid. We toenailed perpendicular 2x6s into the existing ceiling joists, using a nail gun, to create the individual boxes or coffers. Using a jigsaw, cut any holes into the 2x6s that will be needed to accommodate future light fixtures.
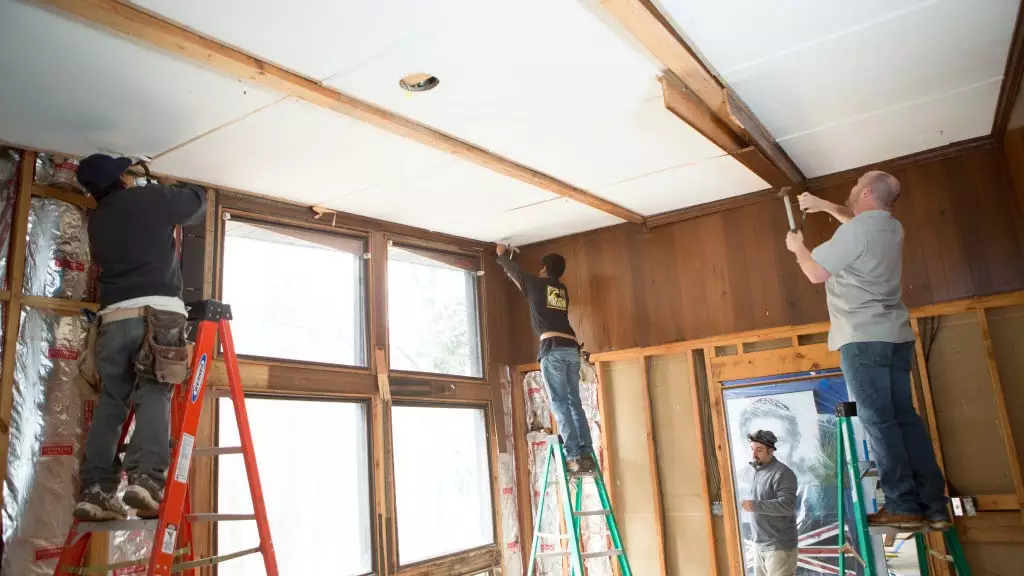
Step 4: Install Drywall
In preparation for drywall installation, we added the occasional 2×4 brace between ceiling joists. Then, measure, score and cut the drywall to fit each of your “square” openings. Using 2-inch drywall screws, secure the drywall to the new 2×4 braces and existing ceiling joists. Repeat until all drywall is installed.
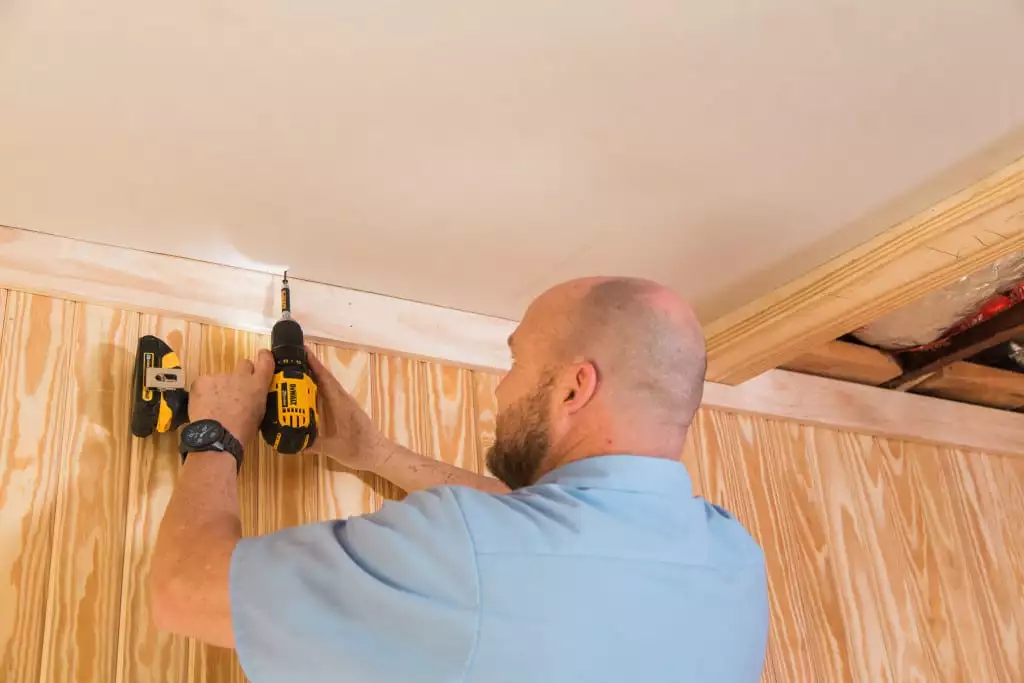
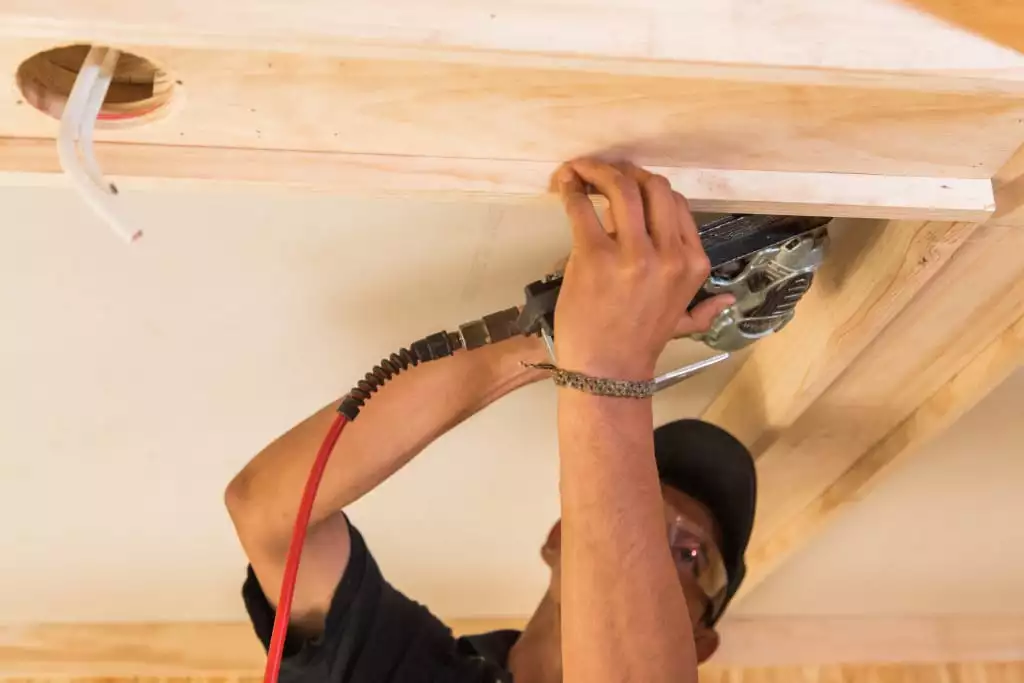
Step 5: Clad Coffer Beams
Now you’re ready to create each coffer. Start by securing Eastern White Pine 1x6s flat against the ceiling grid using a nail gun. In our case, we layered two 1x6s on top of one another to build up the height of the grid. Using a jigsaw, cut holes as needed to accommodate light fixtures into the flat 1x6s. Next, measure, mark and cut two Eastern White Pine 1x4s to flank the 1×6. This will create a ¾ inch reveal on either side giving it added dimension and the look of a beam. Continue this process, boxing in each coffer.
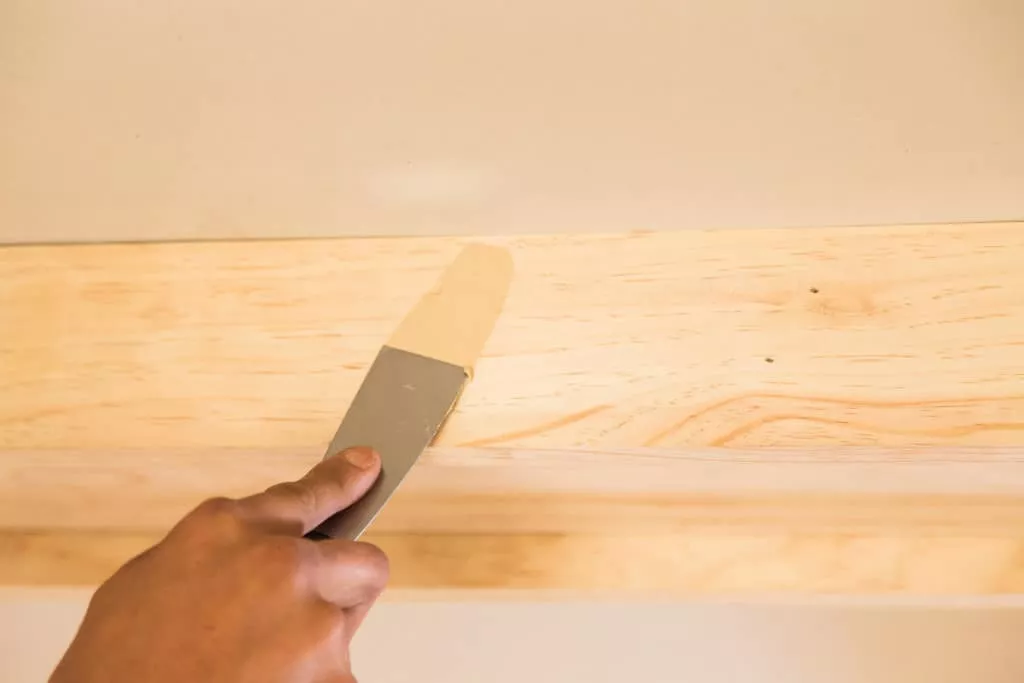
Step 6: Add Wood Filler
Next, using a stainable wood filler, fill in all visible nail holes, scraping away the excess with a putty knife.
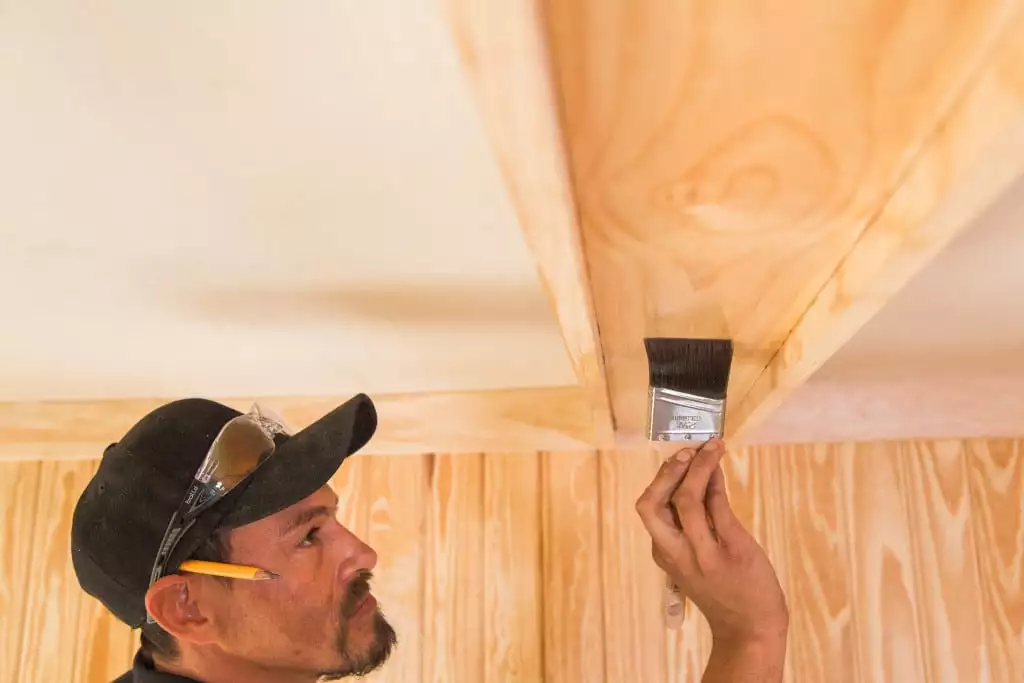
Step 7: Stain Coffers & Trim
Using a paint brush or rag, apply a stain to the wood, wiping off the excess as you go. This natural stain really lets the beauty of the wood grain show through. Once the stain is dry, finish up installation by mudding, sanding and painting the drywall. Install light fixtures to code and you’re good to go!