Step 1: Gather Materials & Make a Plan
Using a crowbar and hammer carefully remove a section of your existing exterior cladding to see what is behind the old material. You are looking for an intact vapor barrier, plywood sheathing, and insulation. If none are present you will need to purchase this material when you pick up all your supplies to get started. Most lumber yards or big box stores will deliver right to your home for a small fee for those who don’t have a truck.
Next measure the width (a) and height (b) of the walls you will be siding. Multiply those numbers together to get the square footage of your project (a x b= square footage). Next, subtract the square footage of any windows and doors on those walls from the overall square footage of the project. This will give you the square footage of siding you’ll need when purchasing materials from your local lumber yard.
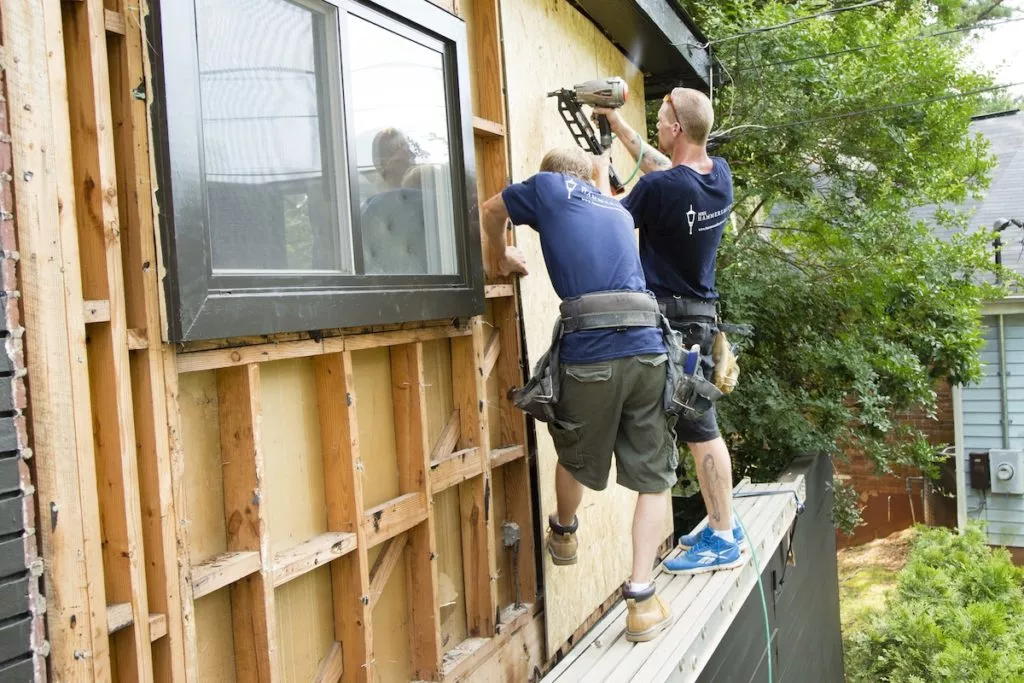
Step 2: Remove Existing Cladding
Using a crow bar and hammer continue to remove the remaining material from the home.
Step 3: Check Wall for Damage
Once the old materials are removed you should see a moisture barrier on top of the house sheathing (plywood). Remove the old moisture barrier due to the old nail holes and possible tears from the old siding material. Replace any damaged plywood or other type of sheathing as needed. If any plywood is removed, check the insulation behind this plywood and replace any that is damaged with new insulation.
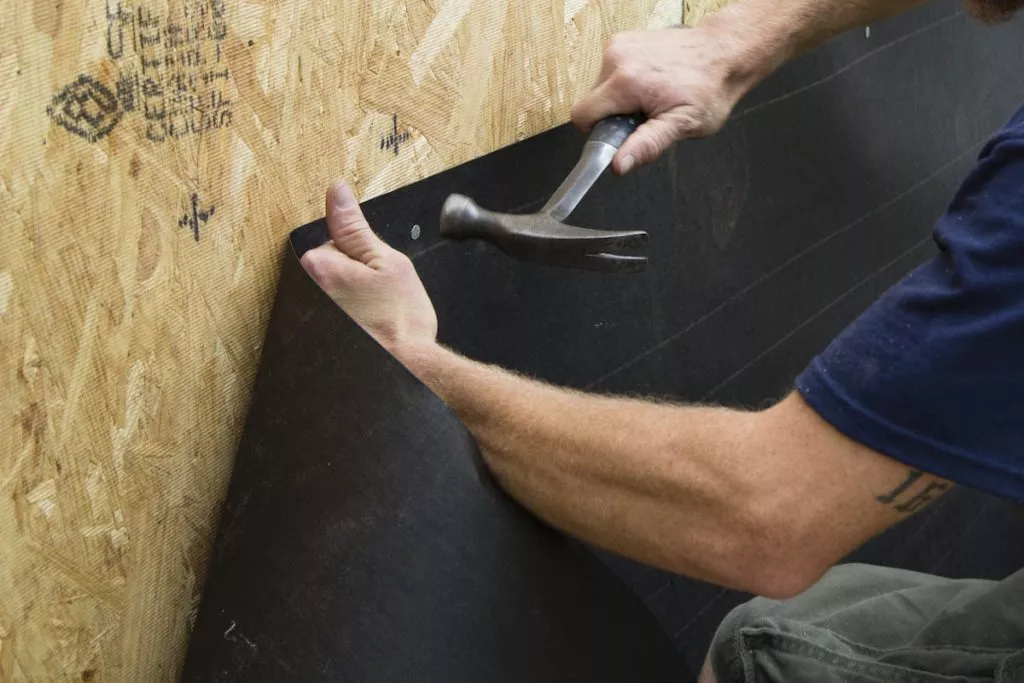
Step 4: Install Moisture Barrier
Once you’ve replaced any insulation or damaged plywood sheathing, you need to install a new moisture barrier. Roll out the moisture barrier or tar paper on the ground and cut to length with your utility knife. Secure it to the plywood using 2” galvanized roofing nails. Make sure you start from the bottom of wall and work your way up and overlap the moisture barrier a couple inches each time. This will keep wind and water out of the wall cavities.
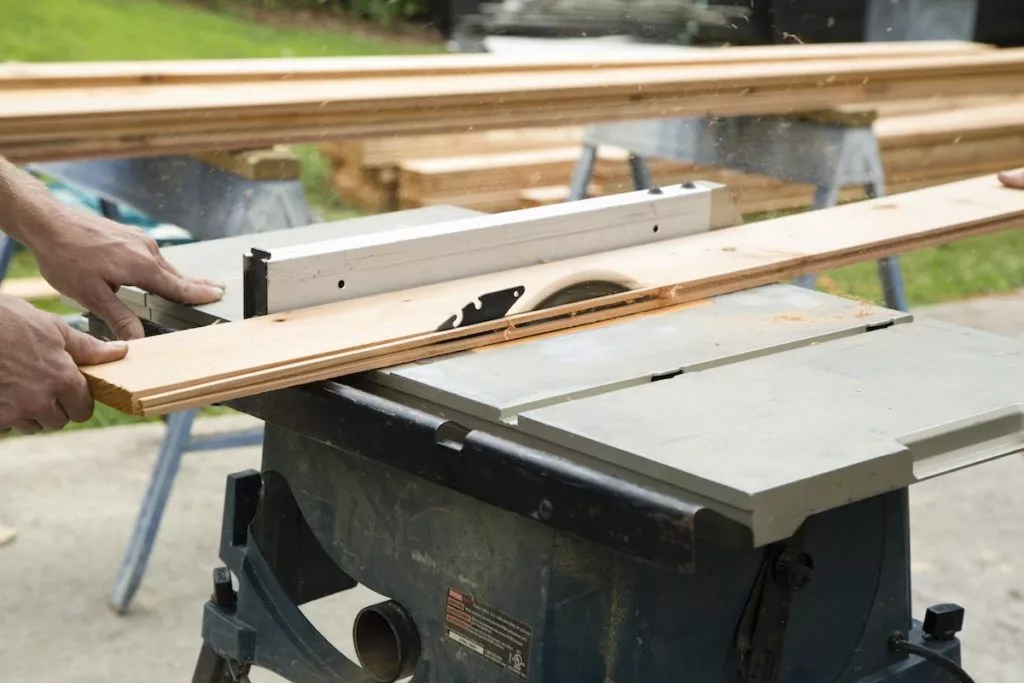
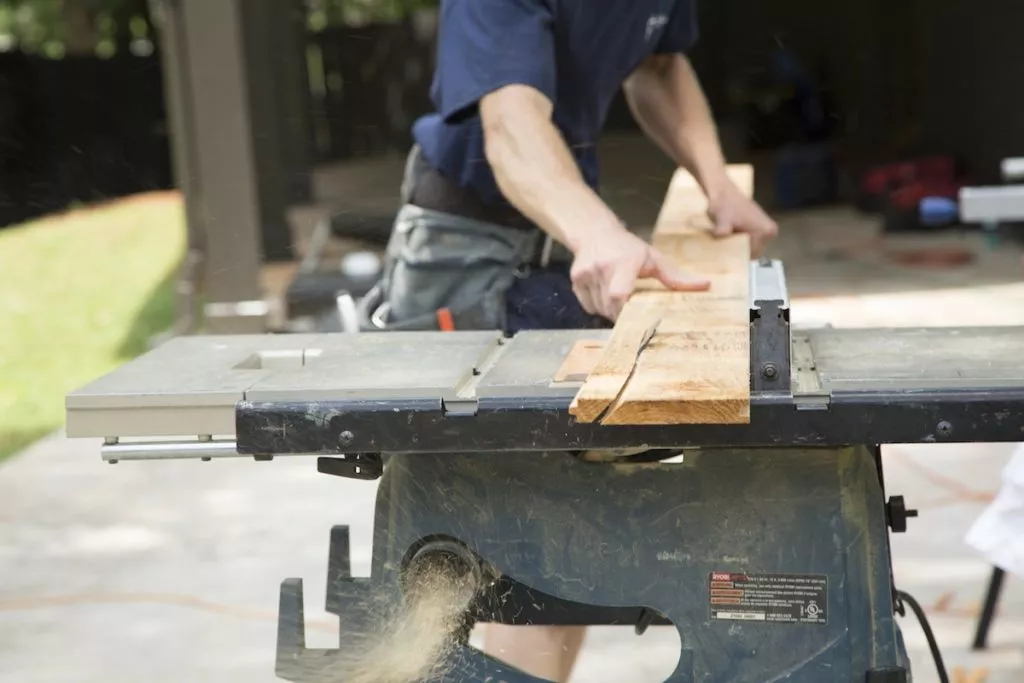
Step 5: Cut Starter Plank
A starter plank must be cut to ensure a clean outward-facing edge. To do this, mark one tongue and groove exterior plank to the necessary length and run it through the table saw with its groove facing the blade. Once the groove is cut from the plank, a smooth, clean edge is created, resulting in a more finished look. PRO TIP- prime the backs of the planks to added another level of moisture protection.
Step 6: Install Starter Plank
Using a carpenter’s pencil and a 6’ level, scribe a straight vertical line directly along the exterior surface where the outer edge of the starter plank will sit. Hold the starter plank up to the level line and secure it into the plywood backing using a nail gun and stainless steel 2” nails.
Step 7: Cut & Attach Vertical Planks
Measure, mark and cut each tongue and groove exterior plank to size based on the pitch of the roof and the bottom edge of the wall. Next, fit groove edges into tongue edges, securing into plywood backing and to one another using a nail gun using stainless steel 2” finish nails. Being that you are nailing into the “blind” part of the tongue you will not see the nail head once the next board is installed. It is highly recommended using a power nailer or stapler being that this is a soft wood so it doesn’t split during the nailing process. This also saves on time and gives you a much cleaner look. PRO TIP- Miter cut the planks’ bottoms to minimize water wicking up into the boards and possibly into the house.
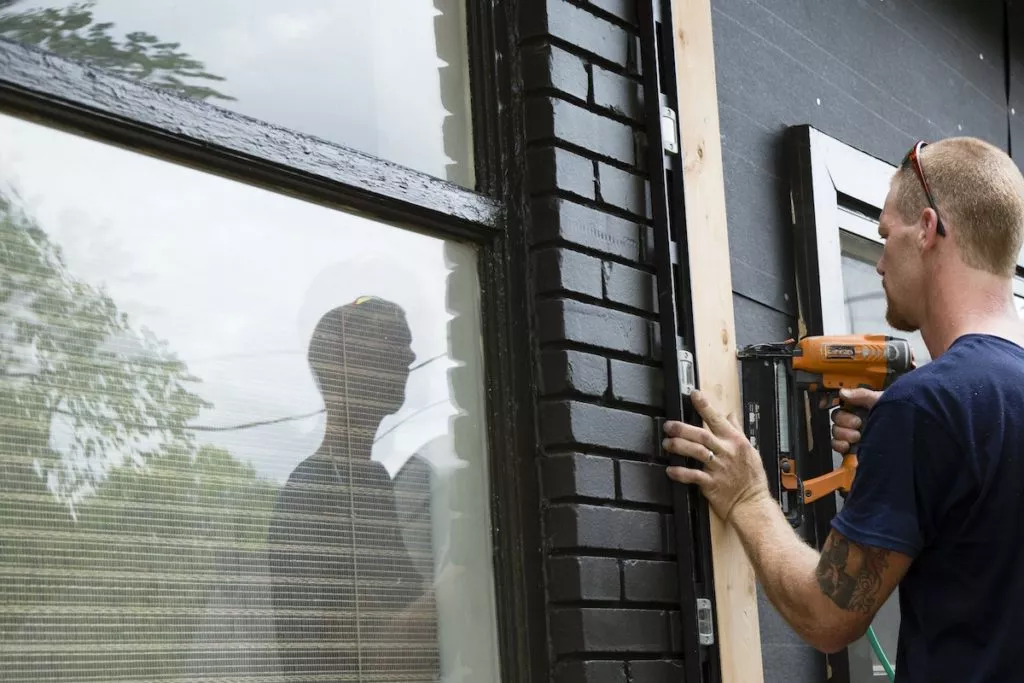
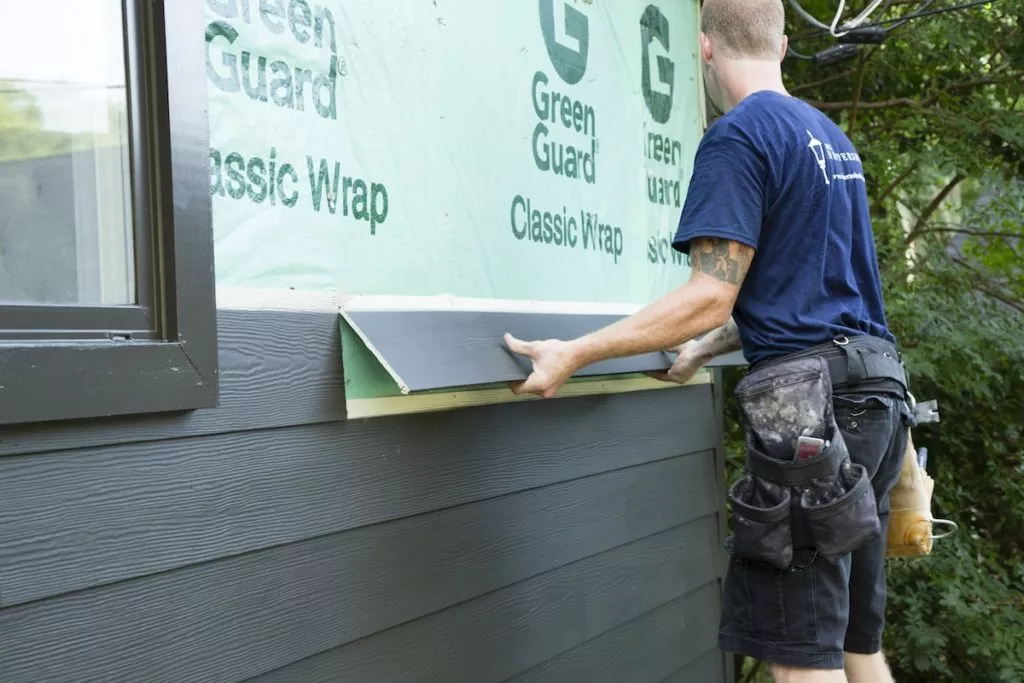
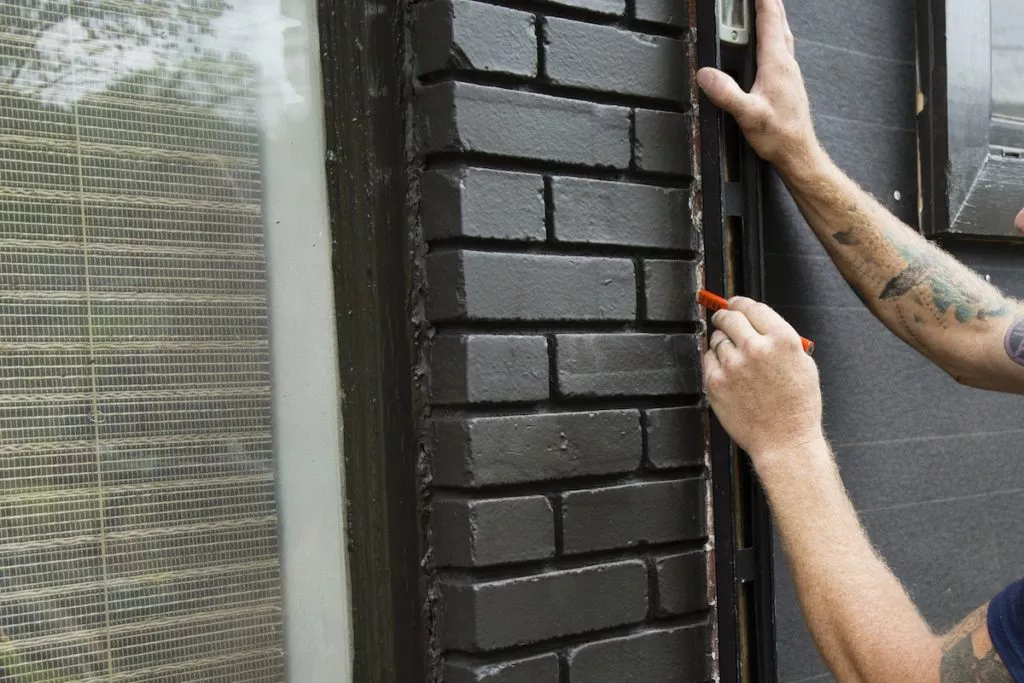
Step 8: Install Around Windows & Doors
As the vertical planks come into contact with doors and windows, cut each plank to size for a proper fit on top of required flashing. Continue installation from left to right, securing planks in place using the same method as above.

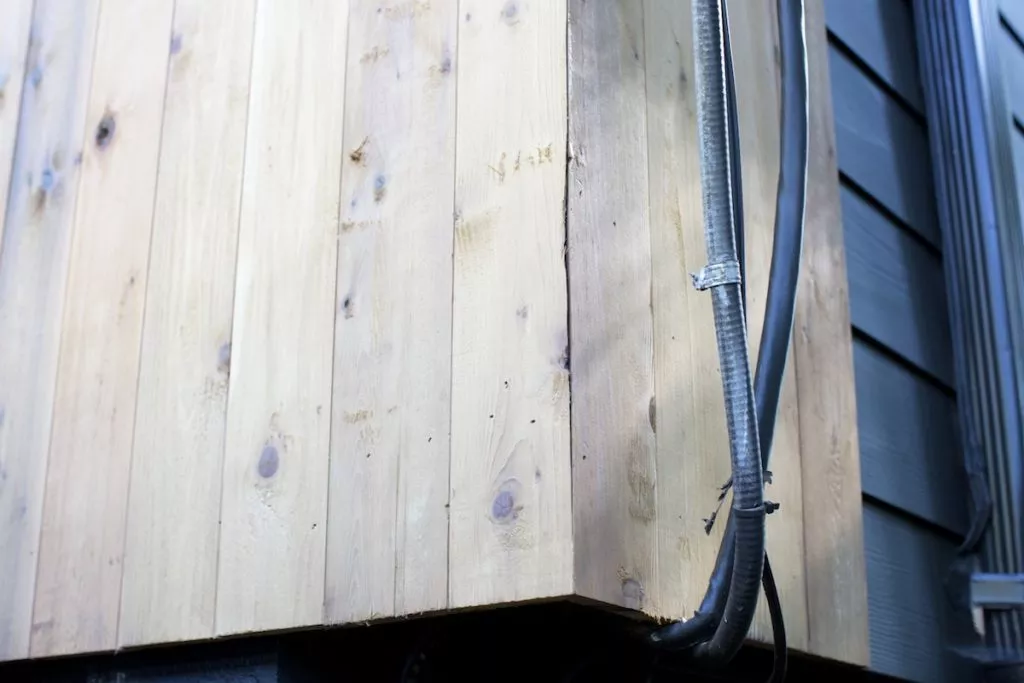
Step 9: Wrap Edges
For a clean, finished look, miter the edges of boards that will meet at the house’s corners. Fit planks together and attach using the same method as with other planks.
Step 10: Add Trim
Measure, mark and cut 1″x2″ wood trim to size using a table saw. Next, place along the surface of the home’s exterior and secure in place with same stainless steel 2” nails and nail gun. To give a clean finished look you can fill the nail holes with wood filler before you apply your sealer.
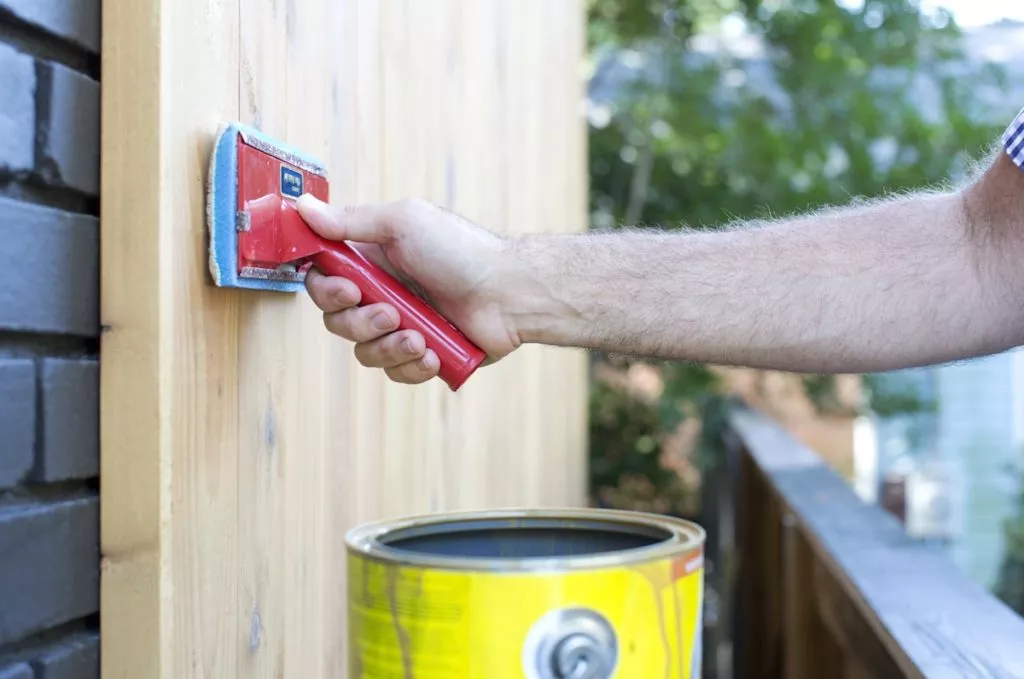
Step 11: Caulk, Stain & Seal
Wipe surface of wood using damp cloth and allow to dry. Next, caulk where the vertical planks meet the brick. Then, apply stain and sealant using staining pad or rag.
Once you’ve finished this tongue-and-groove exterior, your house will be the envy of the neighborhood.