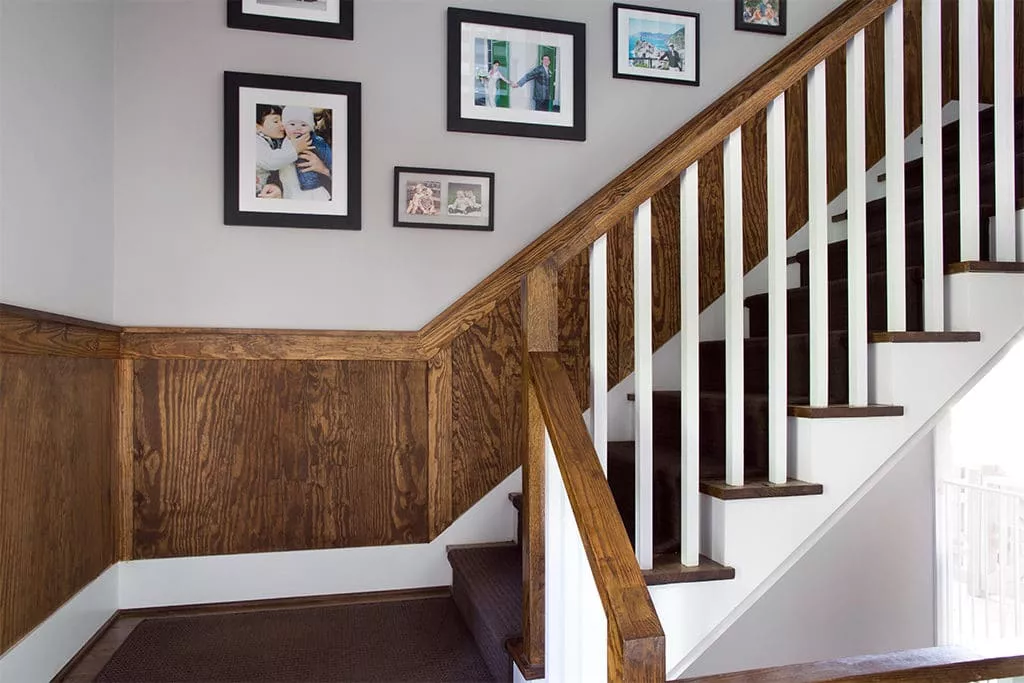
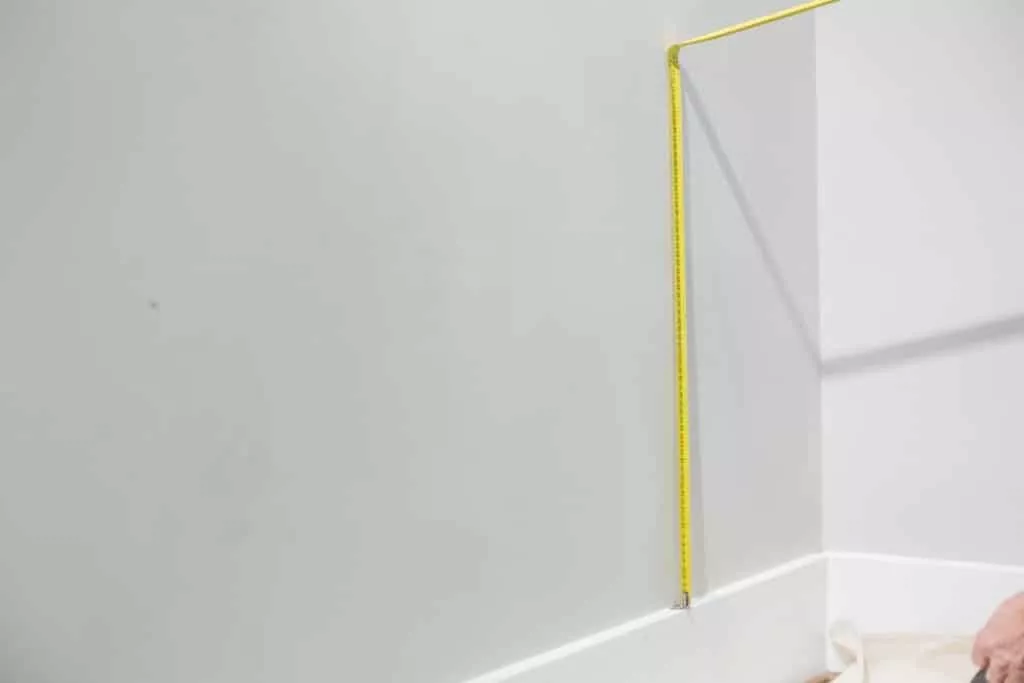
Step 1: Establish Desired Height
Protect the work area by covering nearby floor surfaces with drop cloths. Determine and mark the overall finished height of wainscoting using a level. Three feet is the height most commonly used by designers and builders to add maximum visual impact.
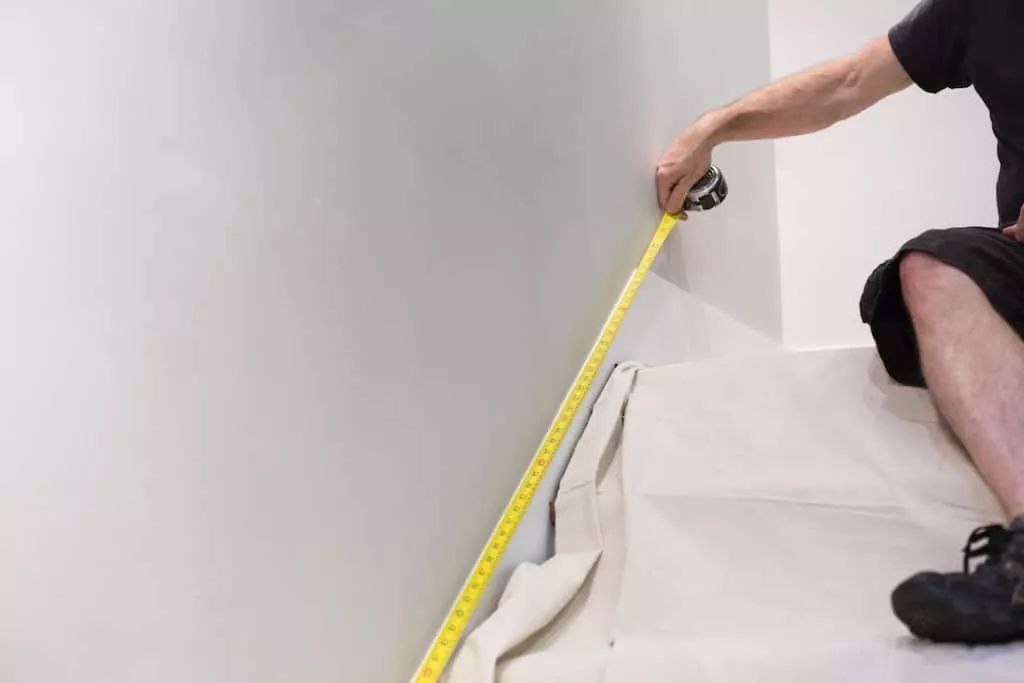
Step 2: Calculate Vertical Span of Staircase
Measure the full length of the staircase to calculate the spacing between 1’x3’ vertical boards. Vertical boards are used for decorative framing and finishing and should be placed equidistance apart for visual balance. A distance between 18” and 36” works best.
Step 3: Determine Overall Height and Width
Determine the overall height and width needed for the back panel, which is the main piece of wood you’ll attach the horizontal and vertical trim pieces to.
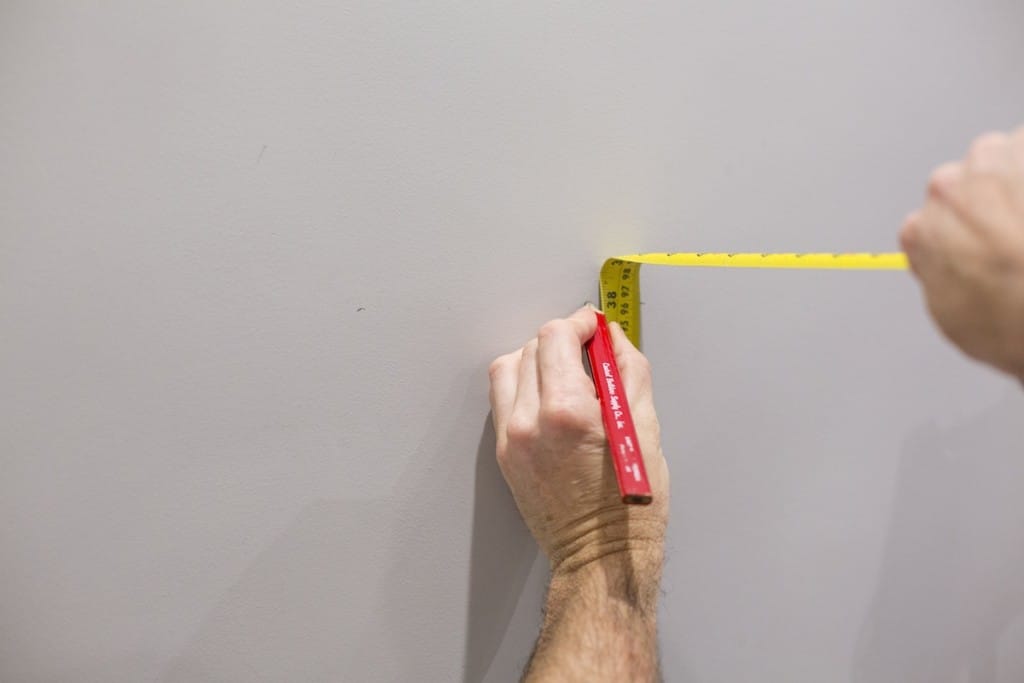
Step 4: Calculate Vertical Trim Width
To calculate the height of the vertical trim pieces, subtract the width of the top trim from the overall finished height of the wainscoting. Mark this height to the wall using a pencil, and then place the trim pieces on the mark to ensure the height is proportional to the space.

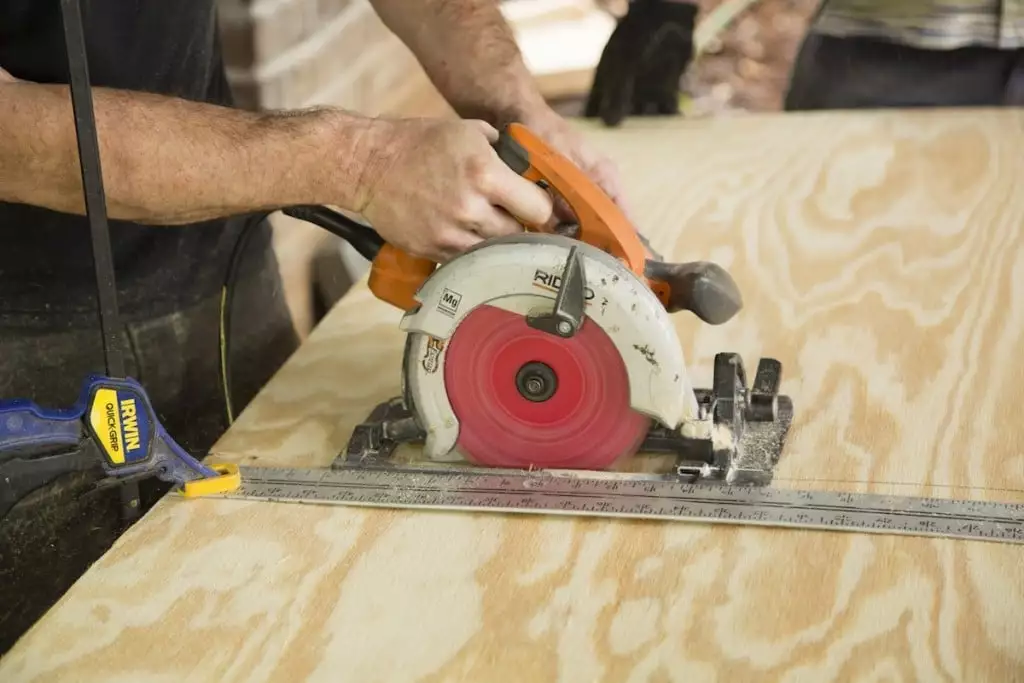
Step 5: Cut Back Panels to Size
To create the back panels, use a table or circular saw to cut standard 4’x8’ sheets of plywood to desired measurements. Plan cuts so that the trim pieces will hide any seams where two pieces of plywood join together.
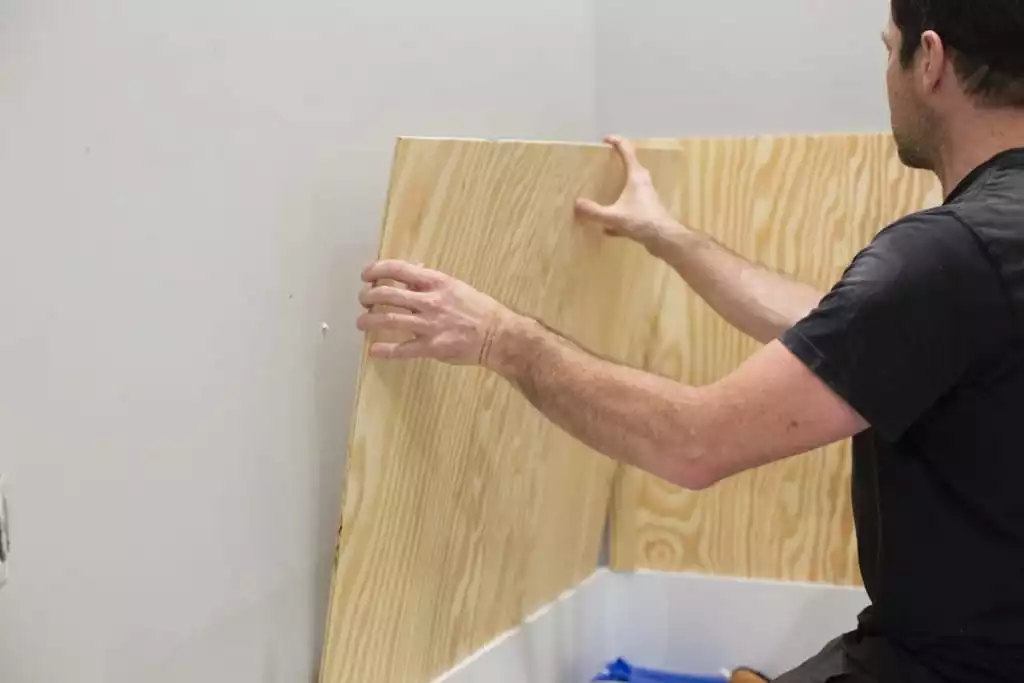
Step 6: Install Back Panels
To install the panels, either using a caulk gun or nail the panels to the wall studs. If using calk adhesive, apply the wood adhesive to the back of the previously cut plywood panels. Next, position each of the panels in place, slightly pressing them against the walls and adjusting them by hand until all four sides are perfectly aligned. To nail the boards to the studs, first find and mark the studs. Just as in step 8, a nail gun will make this quick and clean.
Step 7: Dry Fit Vertical and Horizontal Trim Pieces
Once the back panels are secure, cut horizontal and vertical pieces of trim to the desired measurement using a compound miter saw. Dry fit the pieces to the wall to ensure a snug fit.

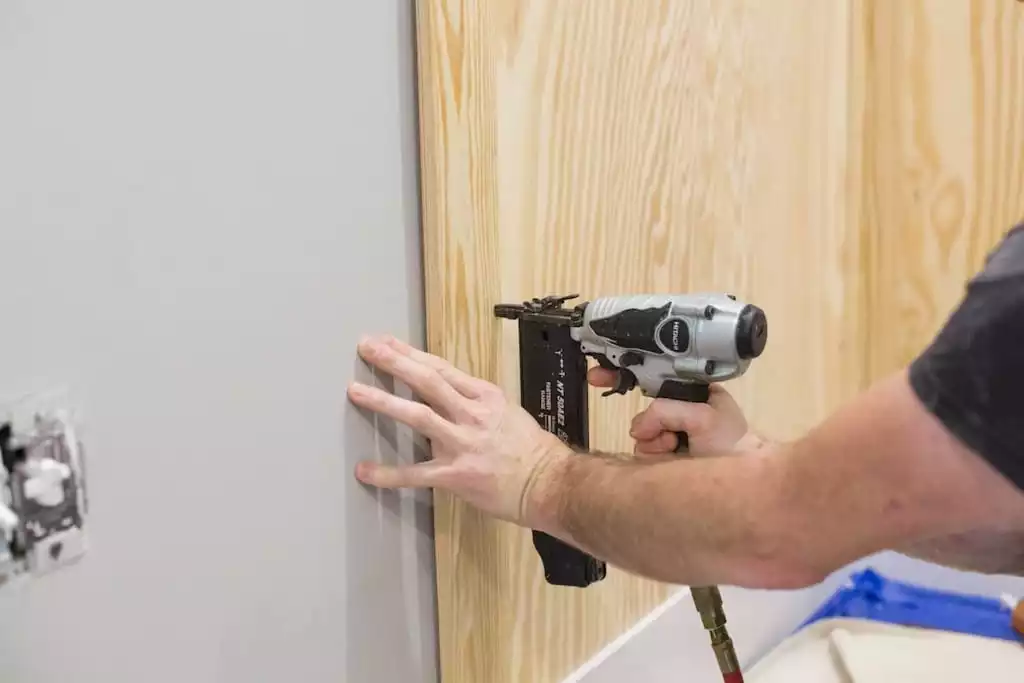
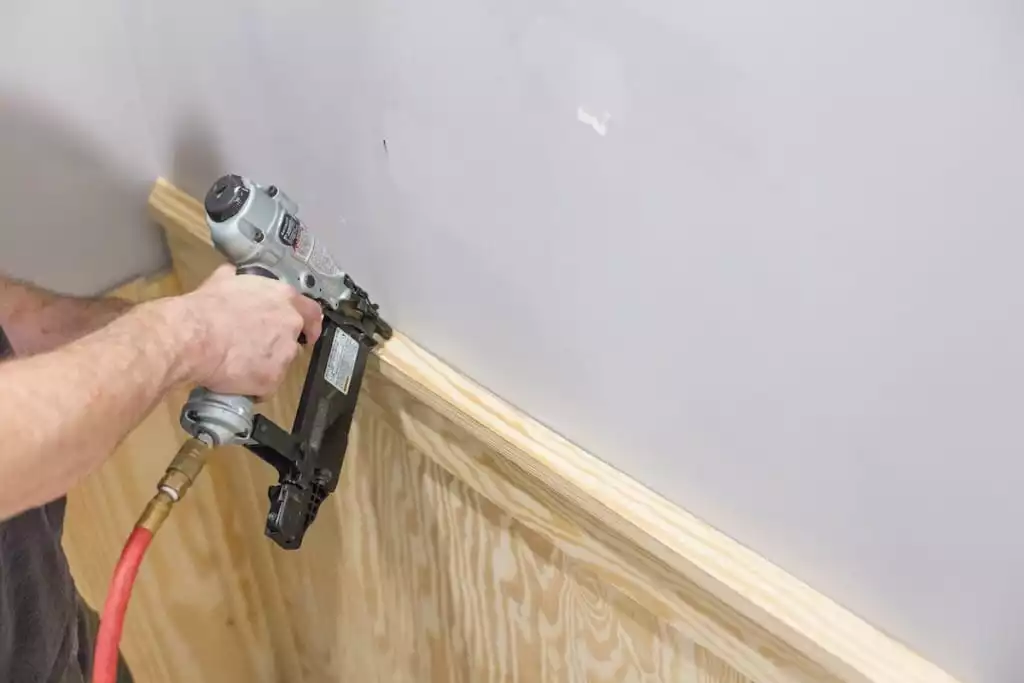
Step 8: Secure Trim to Wall
Using a nail gun, nail vertical trim pieces to the wall. Next, nail the horizontal trim pieces at desired intervals.
Step 9: Install Profile Trim
Attach a smaller profile piece of 1’x2’ trim to the top of the horizontal pieces to cover the gap where the plywood shows.
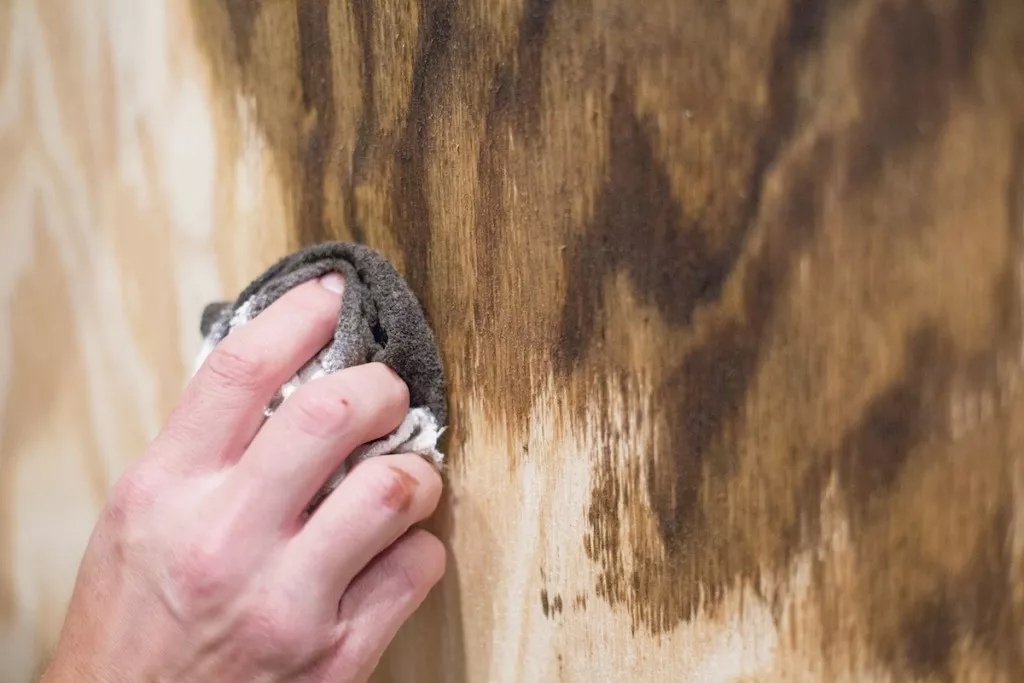
Step 10: Apply Finish
Select your preferred finish and make sure to stir, not shake, your product to prevent bubbles from forming. Wearing protective gloves and a ventilation mask, use a staining pad to evenly apply your preferred finish. Allow each coat to dry before reapplying stain or lacquer, depending on your desired look. And there you have it!